 Save to Pinterest
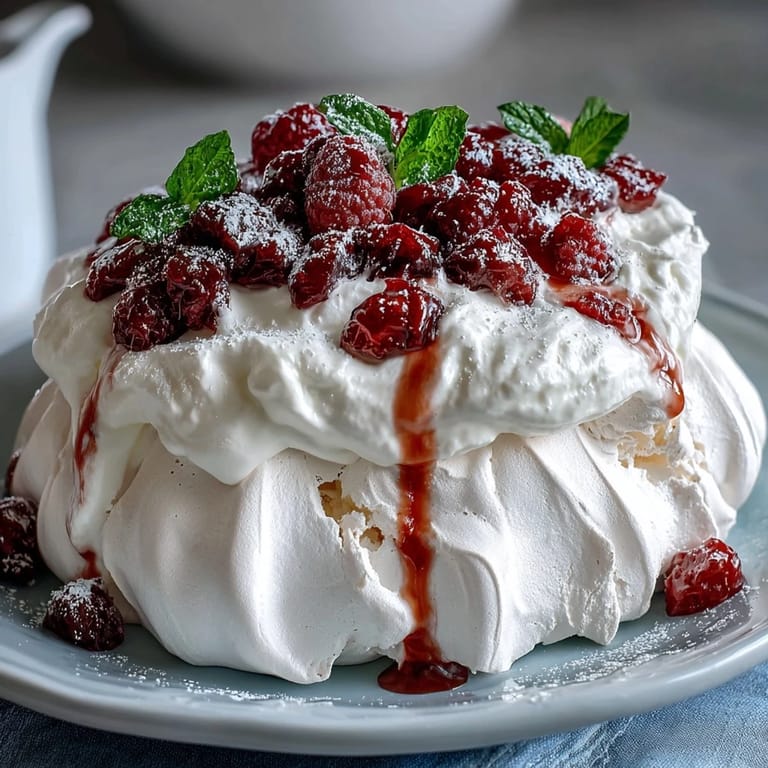
 My mother always said that desserts were where you could show love without saying a word, and this pavlova taught me exactly what she meant. The first time I attempted one was for her birthday, and I remember standing in the kitchen listening to the mixer whip egg whites into clouds, feeling oddly nervous about something so simple. That crisp shell with its marshmallow center became the dessert she requested every Mother's Day after that, and now when I make it, I can almost hear her voice humming in the background.
There's something about serving pavlova that makes any gathering feel special, even if it's just a Tuesday afternoon tea with a close friend. I once brought one to a Mother's Day brunch where someone's kid literally gasped when I set it down—that moment of genuine delight made every careful step worth it. Now whenever I make it, I imagine that same spark of joy happening at someone's table.
Ingredients
- Egg whites (4 large, room temperature): Room temperature whites whip up faster and hold more air, which is literally the foundation of everything here—don't skip letting them sit out for 30 minutes.
- Superfine sugar (1 cup): The finer texture dissolves into the egg whites more evenly than regular sugar, giving you that gorgeous glossy finish that signals you're doing it right.
- Cornstarch (1 tsp): This tiny amount helps stabilize the meringue and keeps the inside slightly chewy while the outside crisps up beautifully.
- White vinegar (1 tsp): It sounds odd, but vinegar strengthens the protein structure of the egg whites so your pavlova holds its shape and doesn't collapse.
- Pure vanilla extract (1 tsp): Use the real stuff here—those few seconds of vanilla flavor make people wonder what your secret is.
- Heavy whipping cream (1 cup, chilled): Cold cream whips faster and holds peaks longer, so stick it in the freezer while your pavlova cools.
- Powdered sugar (2 tbsp plus extra): Dissolves instantly into cream without any grittiness, and feels more delicate than granulated sugar.
- Mixed berries (4 cups total): Buy them fresh if you can the day before, and pat them dry gently with paper towels right before serving so they don't weep moisture onto the meringue.
Tired of Takeout? 🥡
Get 10 meals you can make faster than delivery arrives. Seriously.
One email. No spam. Unsubscribe anytime.
Instructions
- Get Your Setup Right:
- Preheat your oven to 250°F and line a baking sheet with parchment paper, then lightly trace a 9-inch circle as your guide. Make absolutely certain your mixing bowl and beaters are completely dry—even a drop of grease or water will sabotage everything.
- Build the Meringue Base:
- Add a pinch of salt to your egg whites and beat them until soft peaks form (when you lift the beater, they should curl over gently). Gradually sprinkle in the superfine sugar one tablespoon at a time while beating, which takes about 5-6 minutes total—rushing this step means less volume and a denser pavlova.
- Create the Magic:
- Once your meringue is glossy and holds stiff peaks, gently fold in the cornstarch, vinegar, and vanilla using a spatula with as few strokes as possible. You want to keep all that air you just whisked in, so fold slowly and deliberately rather than stirring.
- Shape and Bake:
- Spoon the meringue onto your parchment circle and use the back of a spoon to create a slight nest shape with slightly raised edges—this gives you a little well to hold the cream and berries. Bake for 1 hour and 15 minutes, then turn off the oven and crack the door open just slightly, letting the pavlova cool completely inside for at least an hour.
- Prepare the Whipped Cream:
- While your pavlova is cooling, chill your bowl and beaters in the freezer, then whip your cold cream with powdered sugar and vanilla until soft peaks form. Stop before stiff peaks or you'll have sweet butter, and you can always whip a bit longer if needed.
- Assemble and Finish:
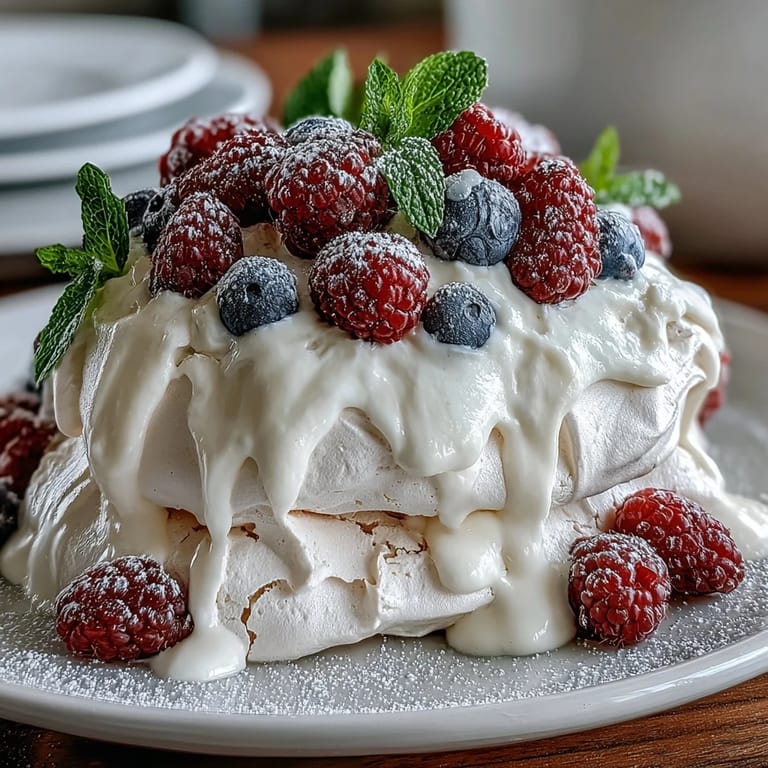
- Once everything is completely cool, transfer your pavlova to a serving platter, dollop or spread the whipped cream on top, then scatter your mixed berries artfully over it. If you're using mint leaves, tuck them in between the berries, and dust lightly with powdered sugar just before serving for that final polished look.
 Save to Pinterest
 I learned the hard way that pavlova is more forgiving than people think—mine cracked slightly the first time, but once I topped it with cream and berries, nobody noticed or cared. That small imperfection actually made it feel more homemade, more real, and somehow more meaningful to share.
Why Pavlova Feels Like Celebration
There's something about this dessert that transforms a meal into an occasion, even when it's just an ordinary afternoon. The moment you crack into that shell and feel it give way under your spoon, you understand why this has been a classic for generations—it's not just delicious, it's theatrical without being fussy. Pavlova reminds you that the best celebrations don't require complicated techniques, just a little patience and belief that something wonderful will happen in your oven.
Adapting Pavlova Through the Seasons
Once you've made a basic pavlova, you'll start seeing it everywhere in your mind—as the perfect canvas for whatever's in season. In summer, those bright berries are exactly right, but come fall you could use roasted peaches or figs, and winter opens the door to pomegranate seeds or even a drizzle of chocolate. This flexibility is what keeps pavlova from ever feeling like the same dessert twice, and it's why it's been my go-to for so many different celebrations.
The Science (and Comfort) Behind the Perfect Pavlova
Understanding what cornstarch and vinegar do helped me stop being afraid of meringue, which is honestly more reliable than it seems. The cornstarch absorbs moisture and keeps the inside chewy while the outside stays crisp, and the vinegar stabilizes the proteins so your structure doesn't collapse—basically, you're setting yourself up for success before you even get started. Once you realize it's just chemistry working in your favor, pavlova stops feeling like a gamble and starts feeling like a promise you're making to yourself.
- Room temperature eggs and a completely dry bowl aren't just recommendations—they're the difference between clouds and scrambled failure.
- The low oven temperature is gentle enough to dry out the meringue without browning it, which keeps that signature pale, almost translucent look.
- If something cracks during cooling, don't panic—that's what the whipped cream is for, and it'll look intentional once you plate it.
 Save to Pinterest
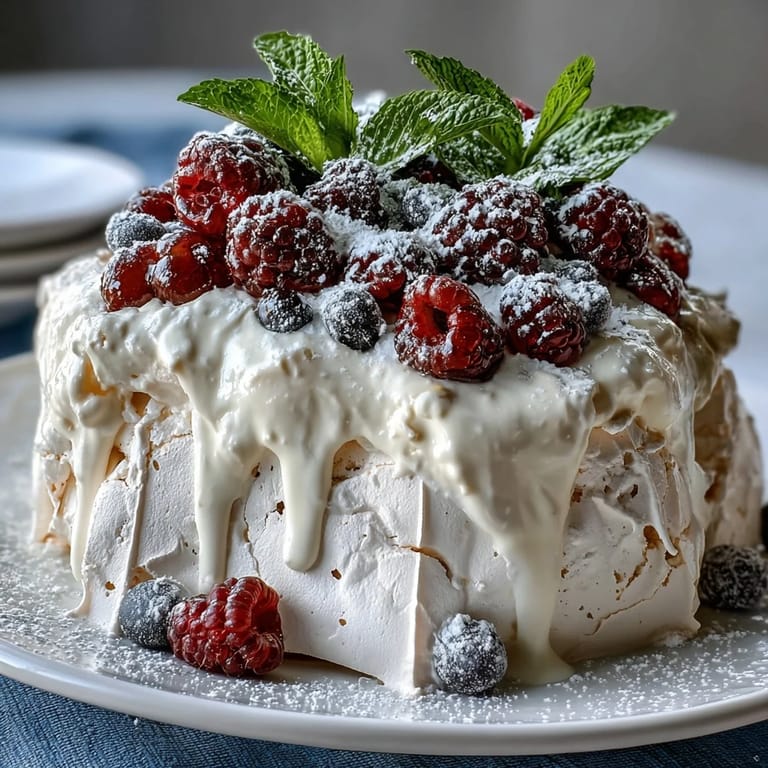
 This pavlova has become my love letter to my mother and to everyone I've served it to since, proving that sometimes the most memorable meals are the ones made with genuine care and a little patience. I hope it becomes that dessert for you too—the one people ask for by name.
Recipe FAQs
- → How do you achieve a crisp pavlova shell with a soft center?
Bake the meringue at low temperature (around 120°C/250°F) for over an hour, then cool it in the oven with the door slightly open to ensure crispness outside and a marshmallow-like center.
- → What is the role of vinegar and cornstarch in the meringue?
Vinegar stabilizes the egg whites while cornstarch helps absorb moisture, creating a soft center and preventing cracks during baking.
- → Can other fruits replace the berries?
Yes, seasonal fruits like kiwi, peaches, or passionfruit can be used to add different flavors and colors while maintaining the dessert's freshness.
- → How do you make the whipped cream topping?
Whip chilled heavy cream with powdered sugar and vanilla extract until soft peaks form, then spread it evenly over the cooled meringue base.
- → What tips help ensure the meringue doesn’t weep or become soggy?
Prepare the meringue on a dry day if possible, and add the cream and fruits just before serving to keep the shell crisp.